|
Just recently driving when driving, it would be an overlook when I flash the light to signify the oncoming motorists to turn their high light beam. That composed my mind to retrofit myself Civic headlight housing. I typically drive in the urban roadway, hardly ever in high means and also countryside, so 4 reduced beam with 2 high is an accordingly modified plan for my HONDA CIVIC. I upgrade my CIVIC in an expert refit shop. Below is my set up listing: Projector: OEM Hella5 bi-xenon Ballast: Audi A6 OEM Keboda Bulb: OSRAM 4300K HID Various other parts: 4 pieces white Angel eye( BMW)+ 4 items red Demon eye So let's to play!Take the headlights back apart, placed all the light bulb out off the real estate. And afterwards baked them in the stove. After opening them up, take the lights and also shrouds apart. The changed process takes as long, I have actually waited in the store from day to evening. However It was rather terrific with the angel eye in the reduced beam in the projector after the retro. The last point is to place the real estate. It is possible to trigger moisture built up inside the headlights as well as influence the light output if the work did refrain from doing well. This is my angel eye and satanic force eye, the light stays tidy, clear and wonderfully white no matter how long they have gotten on. The specialist refit store is so excellent, made my headlight a degree up, and the store additionally supplies a technological light examination, currently I can drive my HONDA on roadway with brighter lighting. 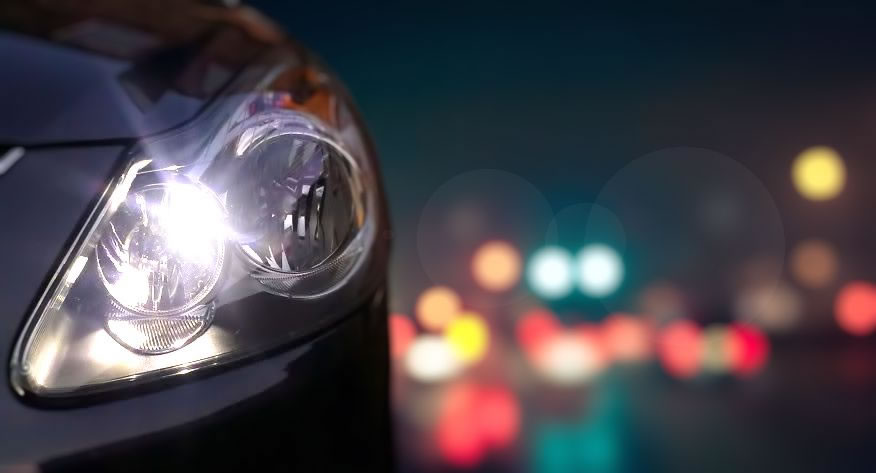
0 Comments
Nowadays, for great deals of people, the initial point they do after buying a brand-new automobile is to retrofit the headlight, it is not just for the stylish appearance but likewise for the pursuit of personality and the bi led technology. Really, the street light when driving currently is brighter than before. However a brighter and also common front lights implies better exposure experience as well as safer driving on roadway. So when I get my brand-new Carola, my very first decision is to update the manufacturing facility halogen front lights to HID set with bi-xenon projector. The actions are shown listed below.
I took the bumper out off to tug the front lights off of the settings up and all set for breakdown. Baked them in the stove and also took the shadows off. Then it was some screws in the housing after that I started to pierce some small openings in the low beam of light front lights base. Placed the YEAKY bi-xenon projector in the real estate and also test the light on the housing. After ending up the light test, dealt with the YEAKY bi-xenon in the housing with steel-soil. Seal the real estate with adhesive to stay clear of leak. Then warm the adhesive in a continuous temperature. So the headlight housing can stick to the base carefully, and also installed the screws at the exact same time. When all things are mounted up to the lorry, we fit the custom-made AOZOOM rapid ballast for the bi-xenon projector. The light is brighter and also clearer compared to I expect with the low beam of light. I generally drive my Volkswagen Golf 7 during the night, the manufacturing facility light bulbs didn't placed sufficient light ahead or to the side. I'm a massive fan of dedicated low beam projectors so I started with a set of AOZOOM front lights. In this article, I will be documenting my configuration done on my everyday drive Golf 7. Configuration was doing fine likewise I was new to this world back then so I had least to compose it down. My AOZOOM front lights conversion packages consist of Hella 5 Bi-xenon, ballast, D1S 5500K light bulbs and some light assembly. I was very easy to open up the VALEO real estate and baked them in the stove for concerning half an hour. Disassemble all the components in the real estate: projector, mask, light structure. I was mosting likely to mount the AOZOOM bi-xenon projector, piercing a hole in the mask to earn the projector fit in the original one. Screw the setting up in its initial areas, it would influence the shape of cutoff line. This is the led strip, placed to the within shadow, cover shroud with plastic wrap to prevent scrape. Before mounting the shadows, I cleaned up all the channels. Keep the old sealer in a ball and it functions like a sticky eraser to get rid of much more from the fronts lights. Since all is done, close up the internal. For the light examination, The method the parking lot was being light up, I might see points on the sides that I could never ever see previously. The last point to do is drive my Golf 7 on road and also enjoy it. 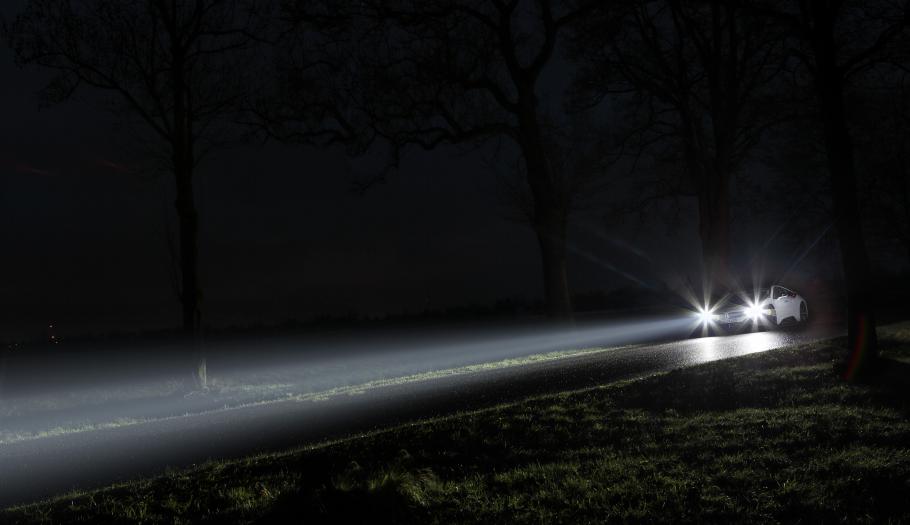 |
AuthorWrite something about yourself. No need to be fancy, just an overview. Archives
March 2019
Categories |
 RSS Feed
